


There is nothing quite like the feeling of throwing a pack in the trunk, leaving the city behind, and heading out into the wild. Whether you’re heading out for a quick weekend camping trip, a day on the river, or a long trek into the mountains, how much you enjoy your time outside almost always comes down to what’s sitting in your backpack.
New outdoor enthusiasts tend to make one of two mistakes: they either pack like they’re moving into the woods for a month, or they throw a single bottle of water into a drawstring bag and assume everything will be fine.
The middle ground isn’t complicated. You don’t need to haul forty pounds of gear to be safe; you just need to cover your bases so a sudden rainstorm or a wrong turn doesn’t ruin your entire weekend. Here is how to pack smart for your next trip.
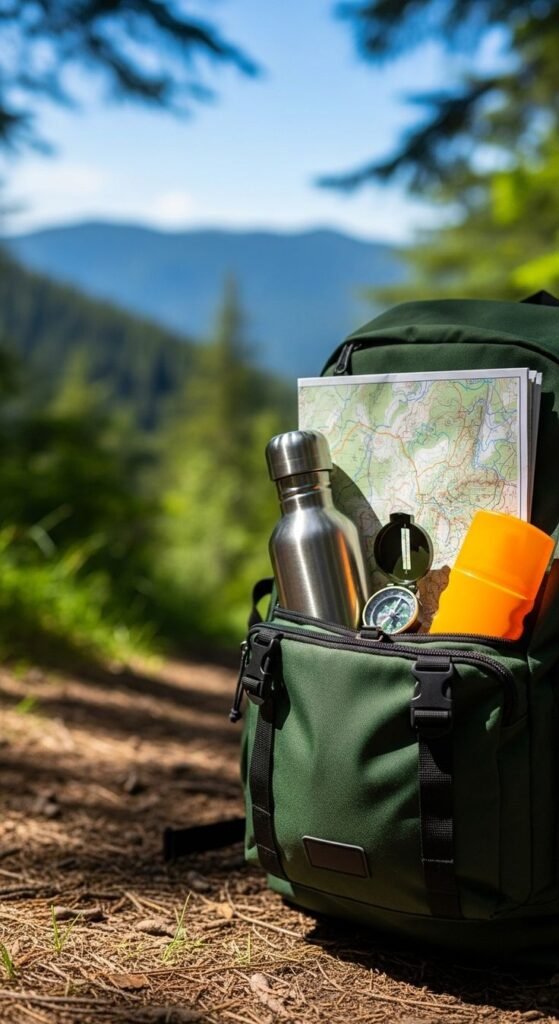
1. Don’t Rely Entirely on Your Phone
We all use mapping apps on our phones, and they are fantastic for keeping track of where you are. But batteries drain fast in cold weather, phones get dropped in rivers, and cell service vanishes the second you drop into a canyon.
- Bring paper and a magnetic compass: Always carry a waterproof topographic map of the area. You don’t need to be an expert navigator, but knowing how to orient a map to match the landscape can keep a minor wrong turn from turning into a search-and-rescue call.
- Get a real headlamp: Your phone flashlight is dim, awkward to hold, and drains the battery you might need for emergencies. A simple LED headlamp leaves your hands free to set up a tent, scramble over rocks, or fix gear after the sun goes down.
2. Layer Up (Because Weather Lie)
Mountain weather is notoriously moody. You can start a hike in bright 80°F sunshine and find yourself shivering in a freezing downpour two hours later. The secret to staying comfortable is avoiding cotton entirely—once cotton gets wet from rain or sweat, it stays wet and pulls heat right out of your body.
- Base layer: Lightweight synthetic or merino wool to pull moisture off your skin.
- Warm layer: A simple fleece or a packable puffy jacket that traps body heat.
- Outer shell: A light, windproof rain jacket. Even if the sky looks blue when you leave the car, keep this at the top of your pack.
3. Keep Your Feet Happy and Your Gear Intact
If your feet give out or a strap on your pack snaps three miles from the trailhead, your trip is effectively over unless you can fix it on the spot.
- Treat blisters early: The second you feel a “hot spot” on your heel or toe, stop and put a piece of moleskin or Leukotape over it. If you wait until it’s a full, bleeding blister, every step back to the car is going to be miserable.
- Duct tape fixes everything: Wrap three or four feet of duct tape around your water bottle or trekking pole. It takes up zero space and can temporarily fix a blown-out boot sole, a torn tent wall, or a broken strap.
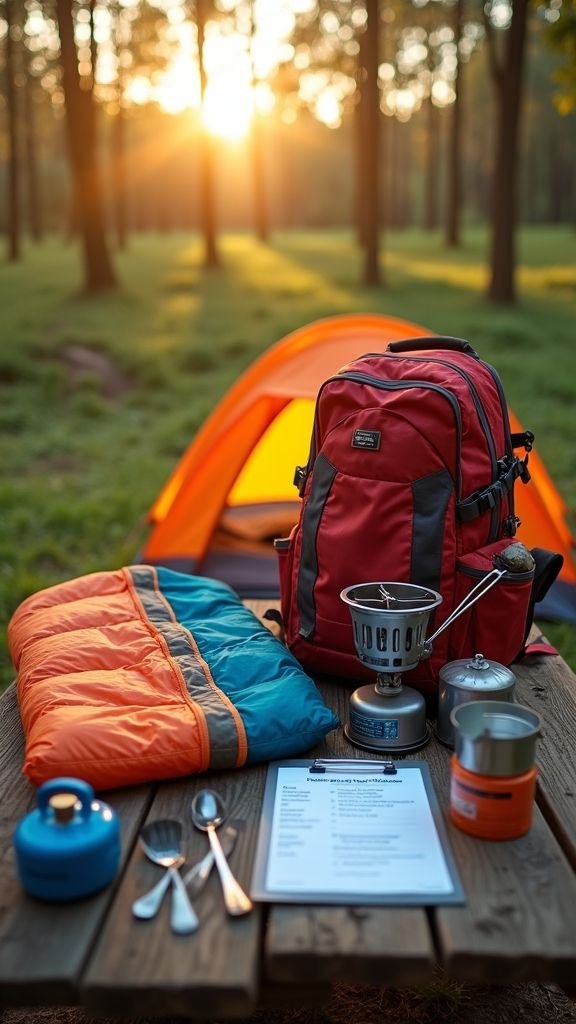
4. Food, Water, and “Just-in-Case” Calories
Getting tired and dehydrated leads to bad decisions on the trail.
- Pack a water filter: Carrying four liters of water is heavy and unnecessary if there are streams along your route. Throw a lightweight squeeze filter or a few purification tablets into your bag so you can safely refill on the go.
- Pack an extra day of food: You don’t need to carry cooked meals, but throw in a few extra calorie-dense snacks—think peanut butter packets, trail mix, or beef jerky—that don’t need cooking and won’t spoil if they sit in your bag for weeks.
5. Cheap Insurance: Emergency Shelter
If you twist an ankle and have to sit tight until help arrives, your body temperature will drop fast once you stop moving.
Drop a five-dollar Mylar emergency blanket into the bottom of your bag and leave it there. It weighs practically nothing, takes up less space than a wallet, and reflects almost all of your body heat back to you if you get stuck outside overnight.
A Quick Rule of Thumb: Do a “Shake-Down” First
If you’re using new gear or heading out on a longer trip, don’t wait until you’re at the trailhead to open the boxes. Load your pack at home, put it on, and walk around your neighborhood for half an hour.
You’ll quickly realize if something is digging into your shoulders, if your pack is unevenly balanced, or if you brought three items you definitely don’t need. Adjust your setup at home so you can actually enjoy the trail when you get there.